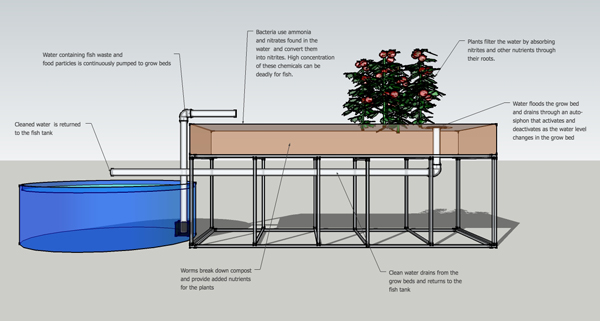
Vegetable Gardening and Growing Tips
To some people gardening is a hobby and to others it a means of providing food for the family. Given the state of the country and world today, more families and individuals are turning to vegetable gardening as part of their disaster preparations. Food safety is also a concern because in reality you do not know what goes into the growing, processing and handling of the fresh produce from your local grocery store.
Things to Consider Before You Get Started
Your typical vegetable garden is an annual affair, in other words you have to plant your vegetables every year unlike perennial plants that come back year after year without replanting. This means whatever you plant must come to maturity so they can be harvested before the first frost of the season.
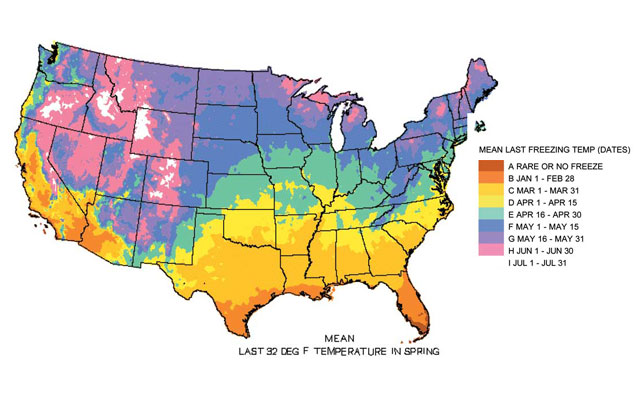
Before getting started, you must become familiar with frost dates. After you have determined when it is safe to plant outdoors, you must then research and determine the maturity date of the fruits and vegetables you want to grow. You have to be assured that the plant will mature within the growing season, which is usually from last frost date to the first frost date.
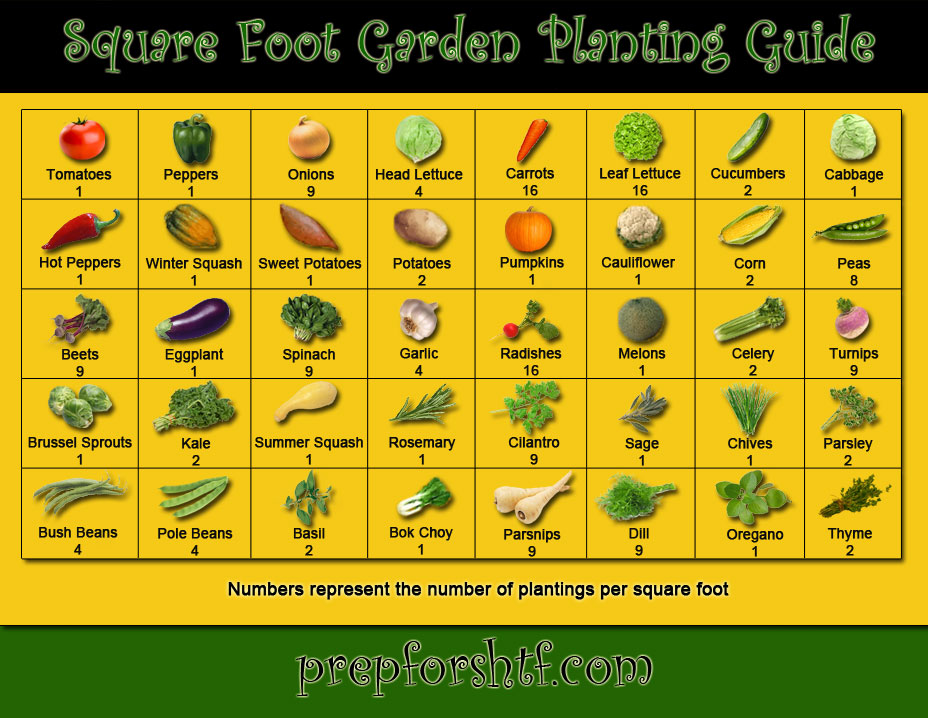
Certain vegetables and fruits such as melons require a longer growing season than others do, so they must be planted early so that they can reach maturity during the season. However, you must have some idea of when you can expect the last frost to schedule the planting of certain fruits and vegetables. If you plant seedlings and then there is a frost, it is likely the cold will destroy the plants. Use the above illustration as a guideline only. If you’re unsure it’s best to speak to others in your area that have experience in gardening to help you out.
Starting Plants Indoors
You may have determined that your growing season is too short for the types of fruits or vegetables that you may want to grow or you may want to stagger the harvest of certain plants. You can control how much you harvest, daily or weekly by staggering your plants.
You can start virtually any plant indoors to enjoy an early harvest or to make sure the plant matures before first frost. Start tomatoes plants indoors and once the plant is transplanted outside, you can start seedlings or plant seeds in the ground at the same time. This ensures that not all of your tomatoes will be ready at the same time and of course you can do this with any vegetable.
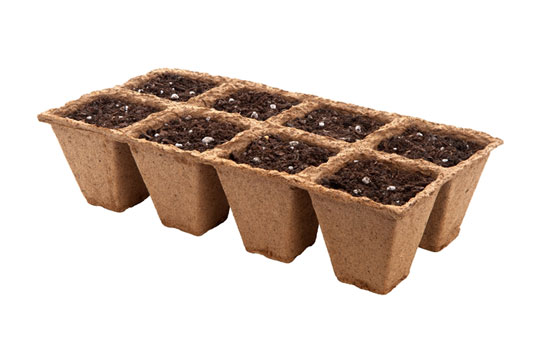
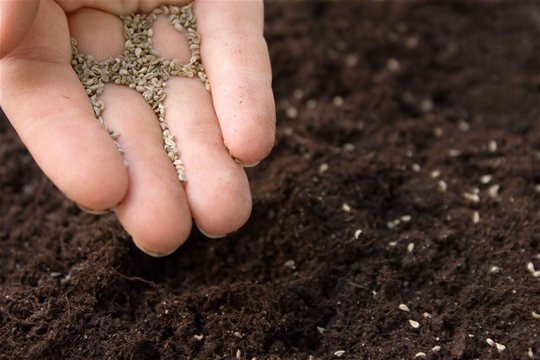
To start your plants indoors all you need are a few supplies, a room with direct sunlight or grow lamps and a little patience. Typically, you would start your seedbeds six weeks before the last frost.
You can purchase seed starter kits at any home and garden center or you can simply order/purchase the seeds and a growing medium and make you own seed containers. Most kits will come with clear plastic lids that go over the seedbed to help maintain the proper moisture levels. You can also cover your containers with clear plastic sheeting until the seeds germinate. Once the seeds sprout, remove any lids or plastic and place the containers in a sunny room.
Tomato plants should be “hardened” off before planting outdoors. To harden your plants set them outside on warm sunny days so they are exposed to temperature variations and breezes. Tomato plants in particular need to be stressed somewhat so they develop stronger stems.
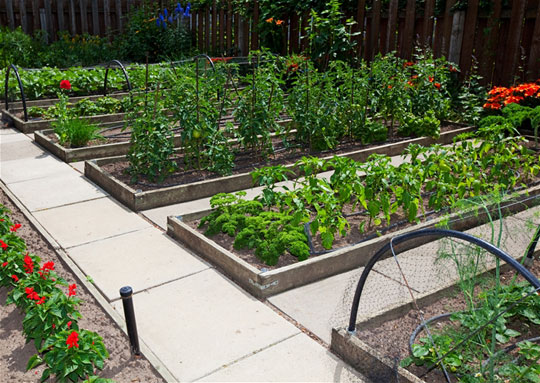
Where to Plant the Garden
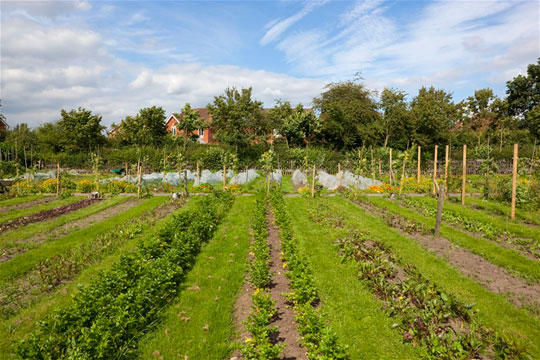
The picture above illustrates a typical row garden and this is what many envision a garden would look like. However, you may not have the room for a row garden or simply do not want to till up your lawn or your soil is poor. There are options other than row gardens however, and some options are ideal for those that live in the city or suburbs.
Raised garden beds are ideal for those that may have poor soil or simply do not want to till up a portion of their lawn. With a few landscape timbers and some quality garden soil, you can begin your planting in a matter of hours. You can pretty much place a raised garden on virtually any surface. Box garden kits typically only include the lumber and hardware, so you will have to provide the seeds/seedlings, fertilizer and garden soil. There are various sizes from which to choose or you can simply purchase multiple boxes and set them on your patio or in your yard.
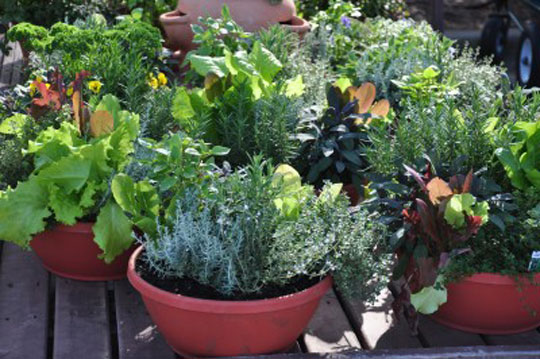
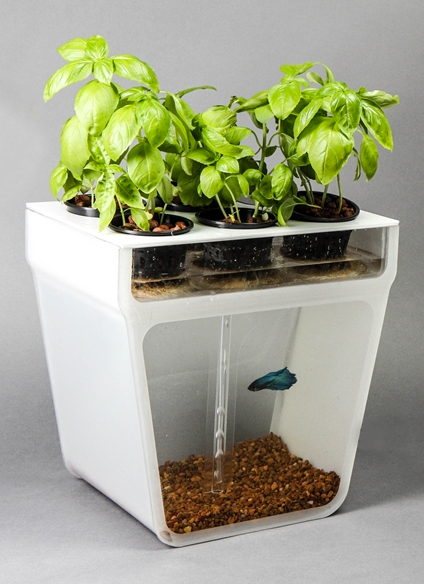
Virtually any vegetable can be grown in pots or even buckets and placed on your deck or patio. Root vegetables such as potatoes can also be grown in containers on the deck as well. Once the plant is mature you can feel around near the top to determine if the potato is large enough and simply pull the entire plant out or harvest a few at a time and let the others mature more.
Your garden will need sunlight and as a general rule plants need at least six hours daily, so careful planning is required. If you plant in pots, you can move the plants for maximum exposure, but if you build raised beds or have a row garden you do not want to find out after you have everything planted that your garden is shaded a good part of the day.
Watering
Water/irrigation will be another concern and if you depend on your local municipality for your water then any additional water used for irrigation will be reflected on your water bill.
One of the reasons many gardens fail is they simply do not get enough water and some people rely on rainfall as the only means of watering their garden and in some cases, this is simply not enough.
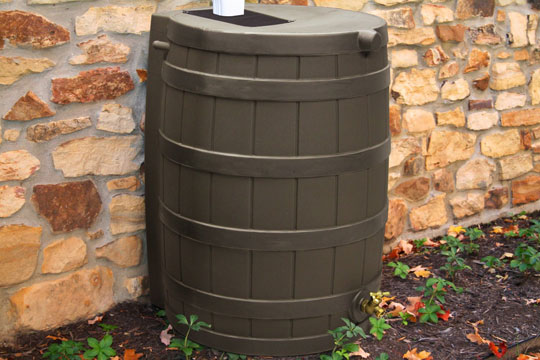
Tomatoes for example need at least two inches of rainfall/water weekly. However, you can collect rainwater from roof runoff and from your air conditioning unit, which will have a drainpipe that discharges condensation. You can save considerably on your water bill if you collect rainfall in rain barrels.
One half inch of rain falling on a 1,000 square foot roof and with the proper guttering in place, you can expect the yield to be roughly 300 gallons of water. Rainfall that is collected over the entire surface of the roof would drain into your guttering and then run to all drain spouts. Therefore, if you had a
water collection barrel under each spout you can conceivably collect enough water over the summer for your garden and other plant life. One half inch of rainfall collected from a 300 square foot surface will fill a 50-55 gallon barrel.
During the summer months, your central air-conditioning unit must discharge the condensation that forms in and around the “evaporator coils” and the amount of moisture can be considerable. You can find your air-conditioner drain pipe exiting the side of your house, usually located by the air-conditioning unit. You can place a bucket under the drainpipe to collect water for watering your garden.
Barrels can be placed under any gutter drain spout to collect rain runoff from the roof. You can purchase barrels designed for this purpose that will have a drain spigot where you can attach a hose that uses gravity and the water pressure to allow you to water with the hose.
You can use any barrel that will hold water, and simply dip the water out as needed using a sprinkling can or bucket. To prevent the breeding of insects mainly mosquitoes you will need some way of covering the water barrel when not in use. Most simply, screen off the top with mesh dense enough to prevent insects from getting to the water.
What to Plant
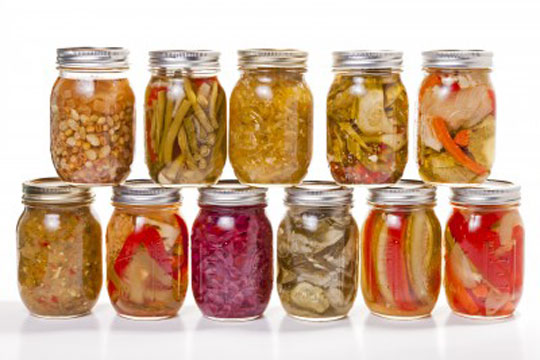
Most vegetables can be preserved by canning, pickling or drying and if you have a large enough garden, you may be able to get enough fruits and vegetables to see you through the non-growing seasons. There is some work and skill required for proper canning or preserving of foods.
For disaster preparedness, you will of course need non-perishable foods that have an extended shelf life, and canning your own foods is an ideal way to begin your food stockpile. Once you have a garden developed and you have used heirloom seeds you can harvest the seeds year after year, which means you have a renewable and reliable food source.
Hybrid seeds or plants will not produce a seed that will produce an identical plant. In most cases, the seeds from hybrid plants are sterile. Hybrid seeds are developed using the uniqueness from multiple plants of the same species to develop plants with only the best characteristics. This makes the plant more disease and drought resistant but requires that you purchase seeds every year versus being able to harvest the seeds from the fruits and vegetables.